How to install and configure
Objective: Learn how to install the plugin. The easiest way to install the plugin is to upload the plugin through your WordPress admin area.
- 1
Download the plugin
After purchasing the plugin, you should have received an email containing a link to download the .zip file.
- 2
Upload the plugin to WordPress
Within the admin, go to Plugins → Add New. Then click Upload Plugin. Once you have the plugin zip file saved to your computer, login to the WordPress admin of the site you want to install on (i.e. mysite.com/wp-admin).
If the plugin file automatically unzips upon download, please re-zip the files.
- 3
Start configuration
After successfully uploading the plugin, you should see a notice to configure it.
 Click the "Configure" button.
- 4
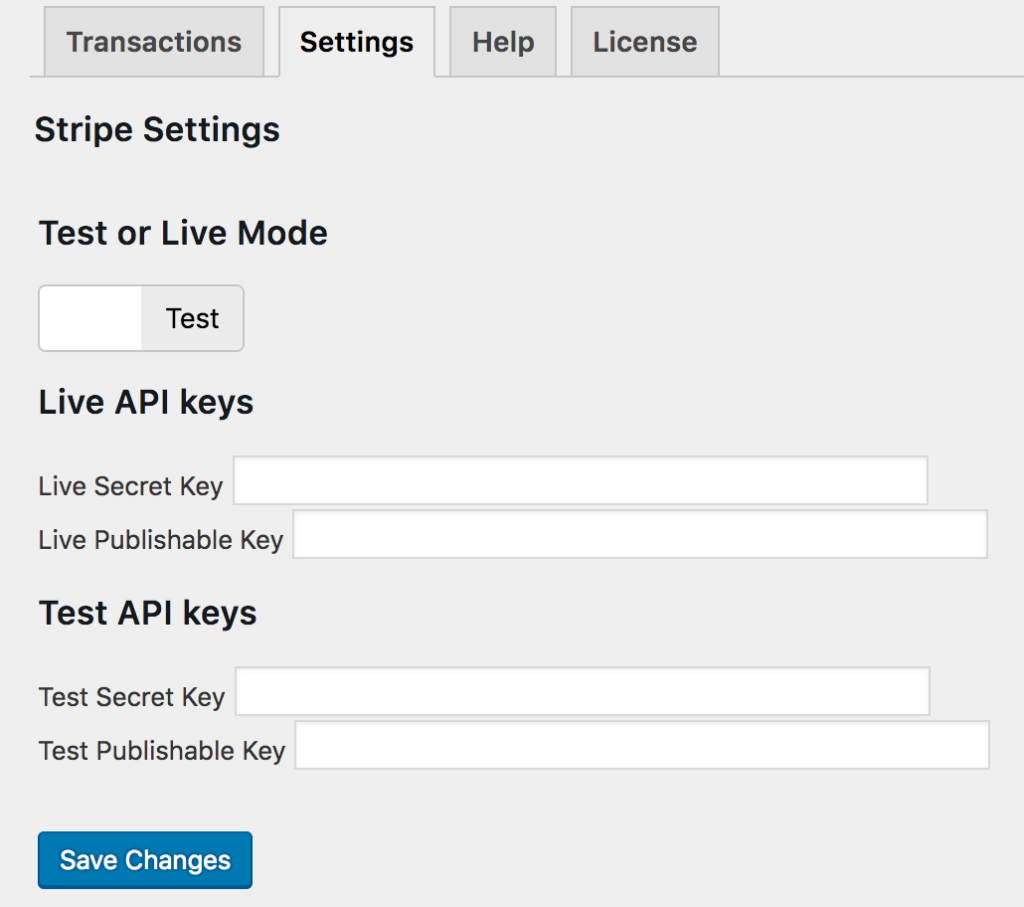
Configure your Stripe API Keys
Add your Stripe "Live" and "Test" API keys. You can find them in your Stripe dashboard at https://dashboard.stripe.com/account/apikeys.

The plugin will not function without this information.
- 5
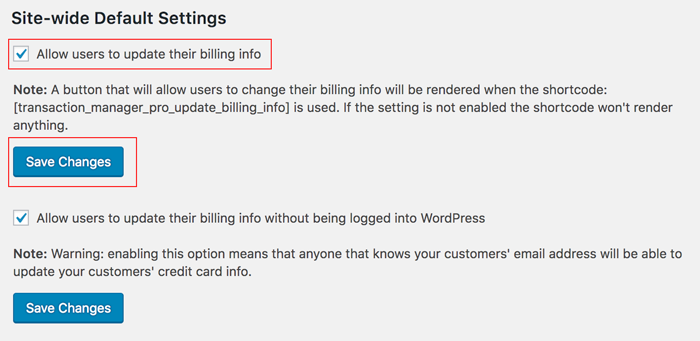
Configure your front end settings for credit card updates.
If you want to activate the option for your customers to update their credit cards on WordPress post/pages (front end), check this box.

Note: You can enable the option for your customers that are not logged into WordPress here also.
- 6
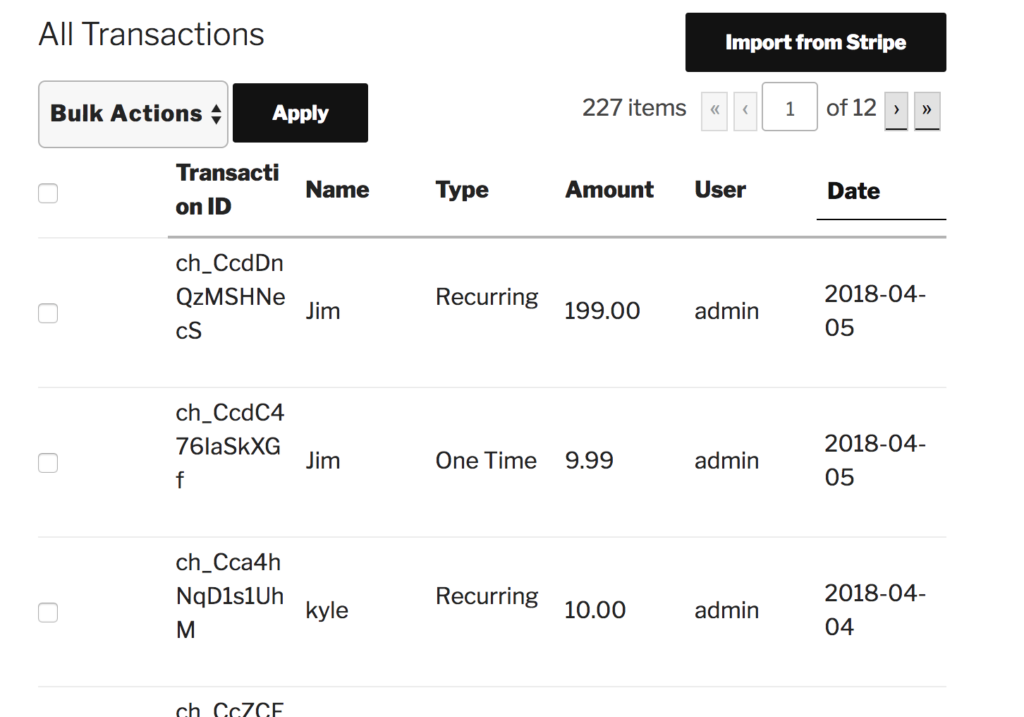
Configure your front end settings for viewing and editing credit card transactions.
A table that will allow users to view and change their transactions will be rendered when the shortcode: [transaction_manager_pro_list_transactions] is placed on a WordPress post or pages.

If the shortcode is not used, this information will be displayed in the WordPress admin area only.