test
Easy to use. Set it up in minutes.
[advanced_iframe src=”https://app.cloudswipe.net/version-test/view-form/1610760818000×214711539150356480″ id=”iframe1″ name=”iframe1″ width=”100%” height=”900px” ]
1 Install Transaction Pro Manager on your existing WordPress website. If you are not using WordPress, reach-out to our concierge service partners to have it installed for you.
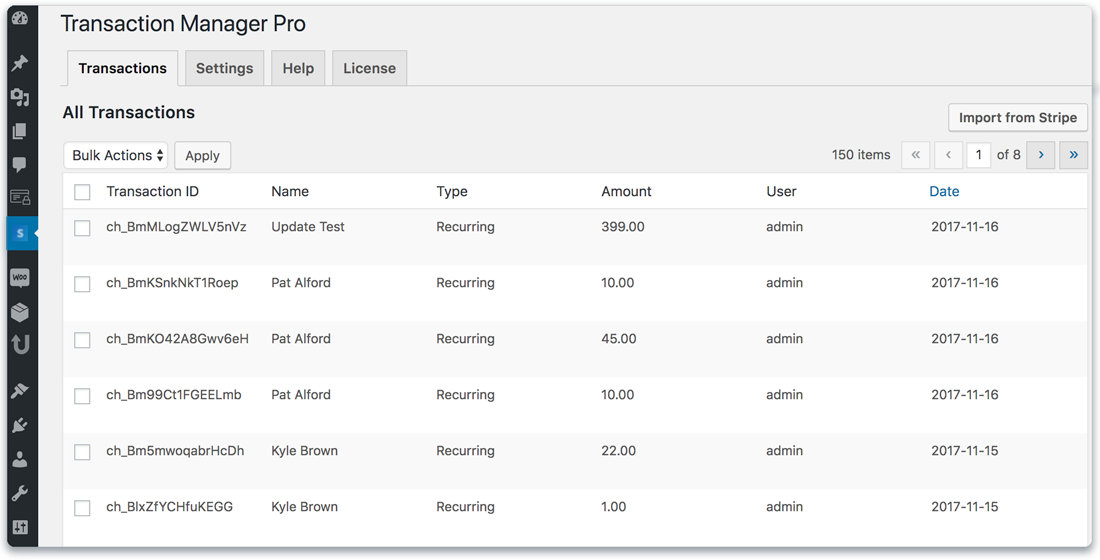
2 That’s 50% of the work. Both you and your customers will be able to sign into WordPress and view their Stripe transactions.

3 Choose new or existing WordPress post or pages that you want your customers to use as an interface for viewing their transactions on the Front End then copy and paste a shortcode.

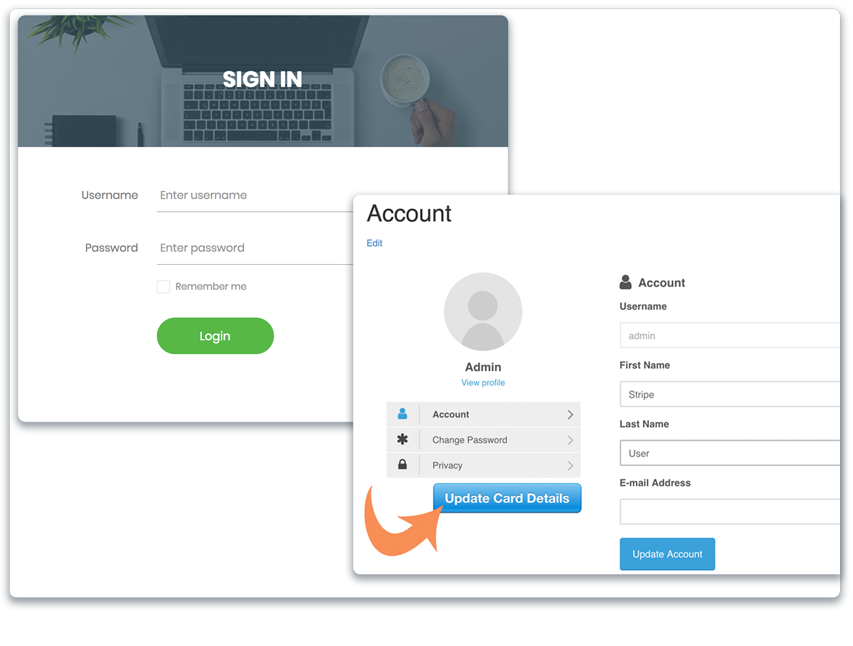
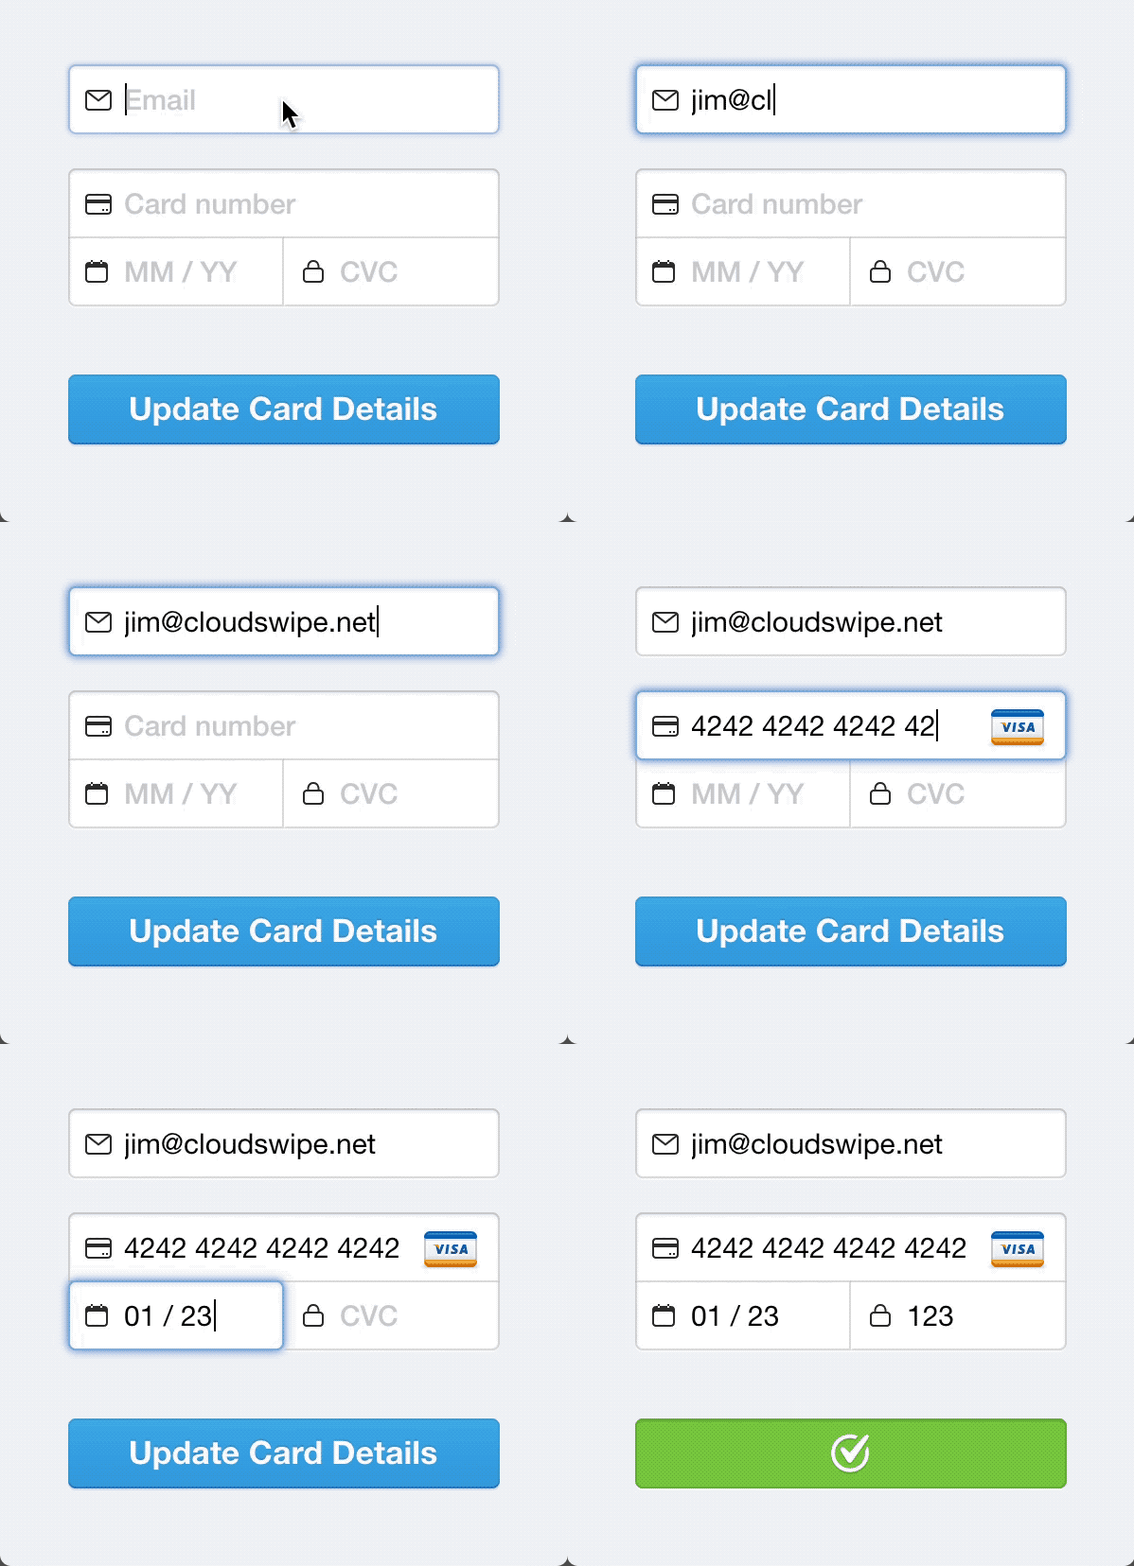
4 Repeat these steps for post or pages where you want your customers to go to update their credit card on the Front End then copy and paste a shortcode.


5 Set up Stripe reminder emails by adding a single url back to the credit card update page on your site.

Start accepting payments with CloudSwipe today!
Create your account for free in minutes and start accepting contactless digital payments. GET STARTED TODAY FOR FREE
